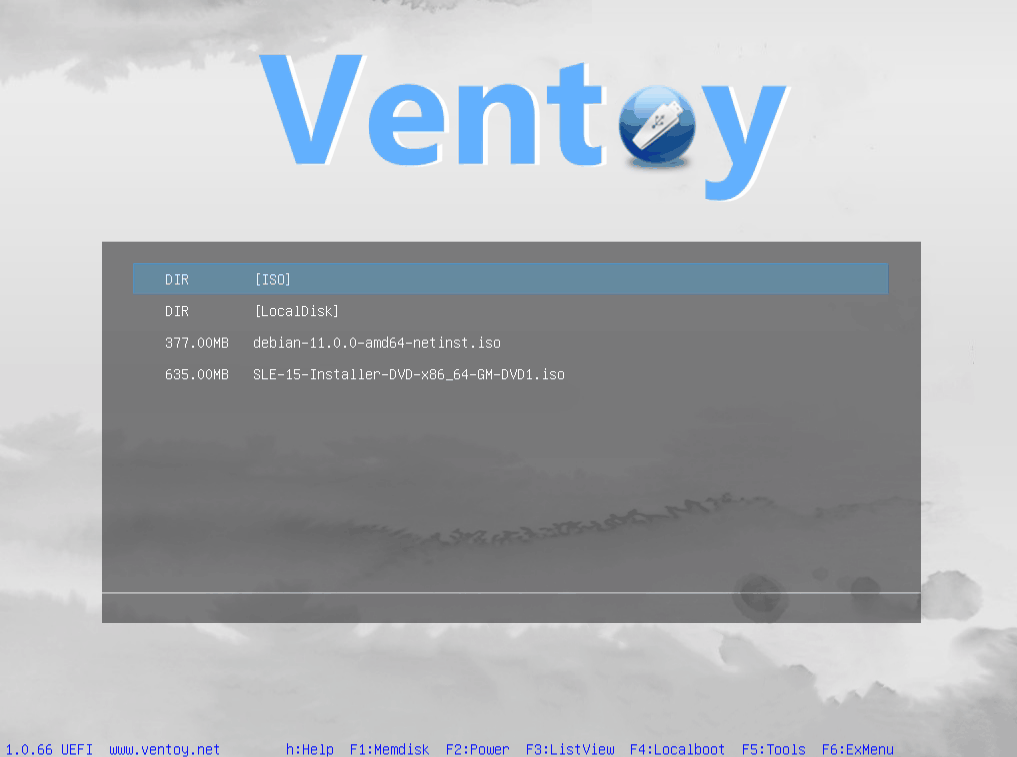
Ventoy Boot Image Files In Local Disk
- 1. Background
Ventoy was originally designed and developed as a bootable USB tool. So Ventoy has always only supported to boot the image files in the disk where Ventoy installed.
That is to say, you must copy ISO/WIM/VHD(x)/IMG/EFI files to the Ventoy disk to boot them.
This is not very convenient in some cases. For example, the ISO has been downloaded to the local hard disk, but it needs to be copied again, USB disk has a low speed, and so on.
Since 1.0.66, Ventoy supports to boot image files (.iso/.wim/.img ...) in local disk.
In order to adapt to the current solution, reduce the workload and be compatible with all the plugins, Ventoy uses a special method to support this feature.
We create a small vlnk file for an image file in local disk (just like the file softlink) and then copy the vlnk file to Ventoy disk to boot.
Notes: Here the local disk is a relative concept, it can be any disk except that which the Ventoy installed. It can be a HDD/SSD or another USB device.
Notes: Since 1.0.67, you can press F2 to browser and boot files in local disk.
But you can not apply plugins in this way. Notes
- 2. Usage
- 2.1 Create vlnk file for image file in local disk
- 2.2 Copy the vlnk file to Ventoy USB and boot
Windows
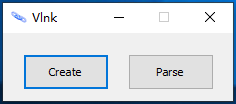
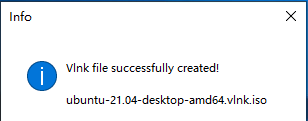
Open VentoyVlnk.exe, click Create button, just select an image file in local disk。
The vlnk file will be created at the same directory with VentoyVlnk.exe.
 (Use
(Use Parse button to show the vlnk infomartion)
By default, you cannot specify the name of the vlnk file created by VentoyVlnk.exe. If you wish to specify you can use command line mode.
You can start with VentoyVlnk.exe -s, in this way, it will prompt you for the vlnk save path after you select an ISO file.
You can also use VentoyVlnk.exe -i xxx.iso -o xxx.vlnk.iso to directly generate the vlnk file, no interaction needed.
Linux
Run sudo bash VentoyVlnk.sh -c xxx.iso in terminal. The vlnk file will be created in the current directory where you run the script.
After vlnk file created, just copy it to Ventoy USB and boot it.
You can put the vlnk file in the root or some subdirectory, no difference with normal image files.
When you boot the vlnk file it will actually boot the corresponding image file in the local disk.
- 3. Attention
- 3.1 About the vlnk file name
- 3.2 Supported image file type
- 3.3 About Plugin Configuration
A vlnk file add a .vlnk suffix in the original file name.
For example, the vlnk files for xxx.iso and xxx.wim are
xxx.vlnk.iso and xxx.vlnk.wim
The xxx is the name part and can be changed as you want (recommend to keep the original name).
But the last .vlnk.iso .vlnk.wim ... are fixed, can NOT be changed and must be all lower-case.
All image file types currently supported by Ventoy are supported. Persistence .dat file is also supported.
| Image Type | vlnk File | Notes |
|---|---|---|
.iso |
.vlnk.iso |
ISO File |
.wim |
.vlnk.wim |
Windows WIM File |
.vhd |
.vlnk.vhd |
Windows VHD File |
.vhdx |
.vlnk.vhdx |
Windows VHDX File |
.img |
.vlnk.img |
IMG File |
.vtoy |
.vlnk.vtoy |
Linux vDisk File. Please refer Linux vDisk Plugin |
.efi |
.vlnk.efi |
EFI File |
.dat |
.vlnk.dat |
Linux Persistence file. Please refer Persistence Plugin Attention: The iso file and the dat file must be in the same side. That is to say: .iso can only be used with .dat, similarly
.vlnk.iso can only be used with .vlnk.dat.
|
When use plugin, there is no difference between vlnk files and ISO/WIM/VHD...etc files.
For example, for xxx.vlnk.iso file, you can set menu alias, menu class, menu tip, password, auto install, persistence ... with plugin.
- 4. Good Practice
I recommend to make a copy of directory/subdirectory structure in Ventoy disk with local disk and put the vlnk file to the corresponding location.
For example, an ISO file is in E:\download directory, then you can create a LocalDisk/E/download directory to put the vlnk file as follows: